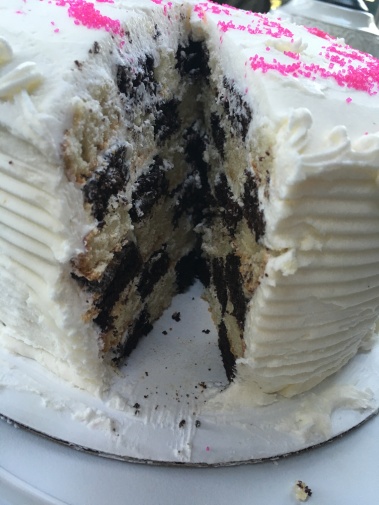
 I love cake. Decorating a cake is fun, but I was looking for a challenging project. This cake took me two days, but it was worth it. The cake is special and obviously homemade- you will not find a cake this awesome in the grocery store. Read on to see how you can achieve this dazzling effect yourself.
Bake the cakes (you’ll need two):
- Cake Mix – I’m not ashamed. Cake mix is cheaper and has a more consistent texture than scratch cake. I used boxes of Duncan Hines French Vanilla and Dark Chocolate. You will need two boxes of cake mix for this recipe. Any brands of flavors will work. Prepare the mix as directed, one flavor at a time.
- I used three 8-inch round cake pans. Grease the pans well and then add a circle of wax paper to the inside bottom. Grease the top of the wax paper, too.
- Divide the mix evenly between the pans. Use a rubber spatula to move the mix so that it is more to the outside of the pan than the center. This will keep your cake from puffing up in the center.
- While the cake is baking, prepare a simple sugar syrup. In a saucepan, combine 3/4 cup sugar with slightly more than 1/2 cup water. Bring to a boil, then cool. This mixture will keep in the refrigerator for up to a month.
- After baking, let the cake cool in the pan for about 10 minutes, then transfer to a wire rack. Remove the wax paper and then brush the surface of the cake with the syrup mixture (just the part that was covered with the wax paper).
- Repeat this process for your second flavor. Cool both cakes, then wrap and refrigerate overnight.
The next day…
- Level your cakes! I use the Wilton Small Cake Leveler. Ideally the cakes will be 1 inch high.
Prepare buttercream frosting:
- Use a kitchen scale to weigh out equal portions of butter and powdered sugar. I used about 700 g each, but I made them in three small batches. It works out to about 6 sticks of butter and 2 boxes of powdered sugar. I use salted butter, but if you don’t, you will also need to add a pinch of salt.
- Soften the butter and then use a sifter to process the powdered sugar. Use an electric mixer to beat on low for 1 minute, then on high for 5 minutes.
- Add some frosting to a piping bag. I like to fit the bag over a drinking glass- this makes it easier to fill with frosting.
Cut the cakes:
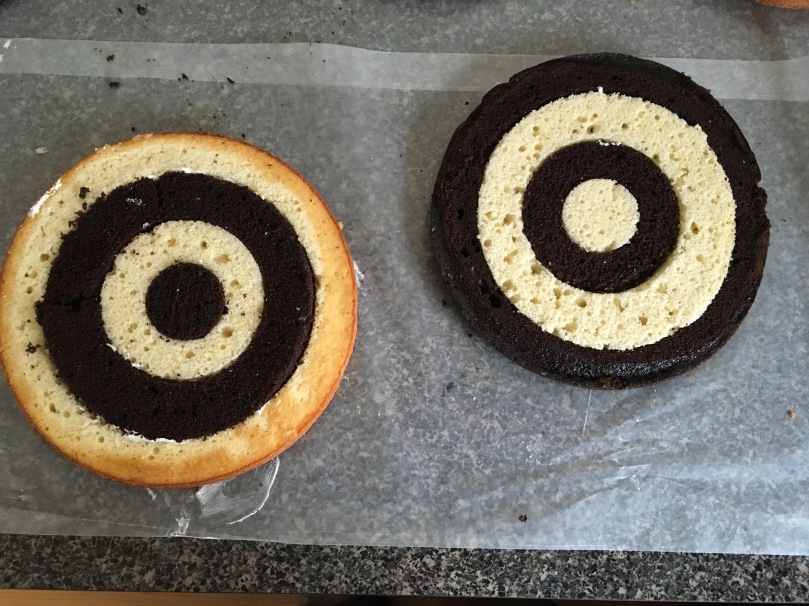
- I used a ruler to make sure I had the right dimensions. I used a 2″ round cookie cutter, a 4″ round cookie cutter, and a 6″ cereal bowl to make my cuts.
- It’s a bit complicated to describe in words, so I’ll let a picture do the talking on this step. Basically, you’re going to cut the three circles from your cakes and then swap the flavors so that they alternate. Use your frosting bag to pipe a thin line of frosting around each circle (both sides of the larger circles) so that they stick together. Do this for all six of your cakes.
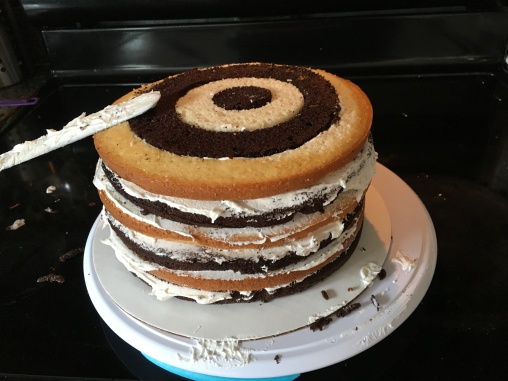
Assemble the cake:
I used a few tools to make my assembly fool-proof: Cake lifter, Cardboard cake circles, and Cake turntable. I recently acquired many of these cake making tools, so I’m linking to the ones I used on Amazon. I did not buy these at Amazon- I went to my local craft store (Michael’s) and took advantage of sales and coupons.
- Set a cardboard circle onto the cake turntable. Use the cake lifter to move one layer onto the turntable. Add a thin layer of buttercream frosting and then bring over the next layer. Be sure to alternate the two flavors (in this case, I did a chocolate circle, then a vanilla, and then a chocolate). Repeat this process with a thin layer of buttercream frosting for each layer.
- Cover the entire cake with a thin layer of buttercream frosting. Refrigerate for one hour and then add another thin layer of frosting. Repeat as needed until the cake is covered.
- At this point, the cake is yours to decorate. I added some simple frosting swirls and then used a stencil to put colored sugar on top (I’m still not very good at decorating).

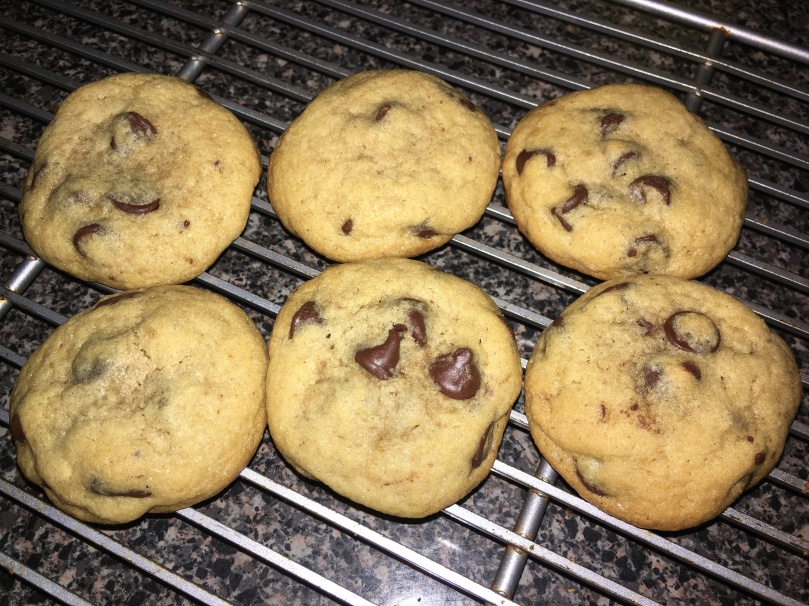 Chocolate chip cookies hold a special place in my kitchen. Some might worry that it is a boring cookie, but this trusted cookie is sure to satisfy any sweet tooth. This is a rich, chewy cookie that brings in the best elements of the greatest cookies ever (Otis Spunkmeyer and Mrs. Fields).
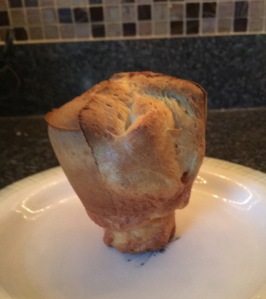
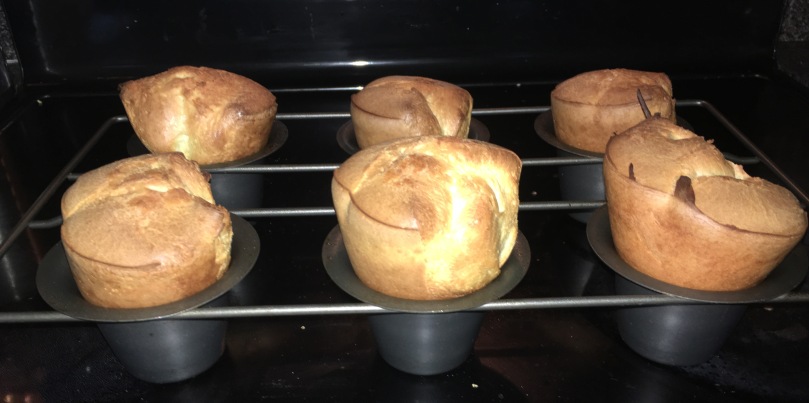 I did not know about popovers until I met my husband. A lot of people in my circle had never heard of them before I started singing their praises. I describe them as a biscuit made out of love and shaped like a hot air balloon (if you do it right).